

Floor sanding is an art that requires skill, patience, and attention to detail. It is a process that involves removing the top layer of wood from a floor and exposing the fresh wood underneath. This process is essential to restore and revitalize old, worn-out floors.
The first step in floor sanding is to prepare the floor. This involves removing any furniture, rugs, or other items from the room. The floor is then cleaned thoroughly to remove any dirt, dust, or debris. Once the floor is clean, the sanding process can begin.
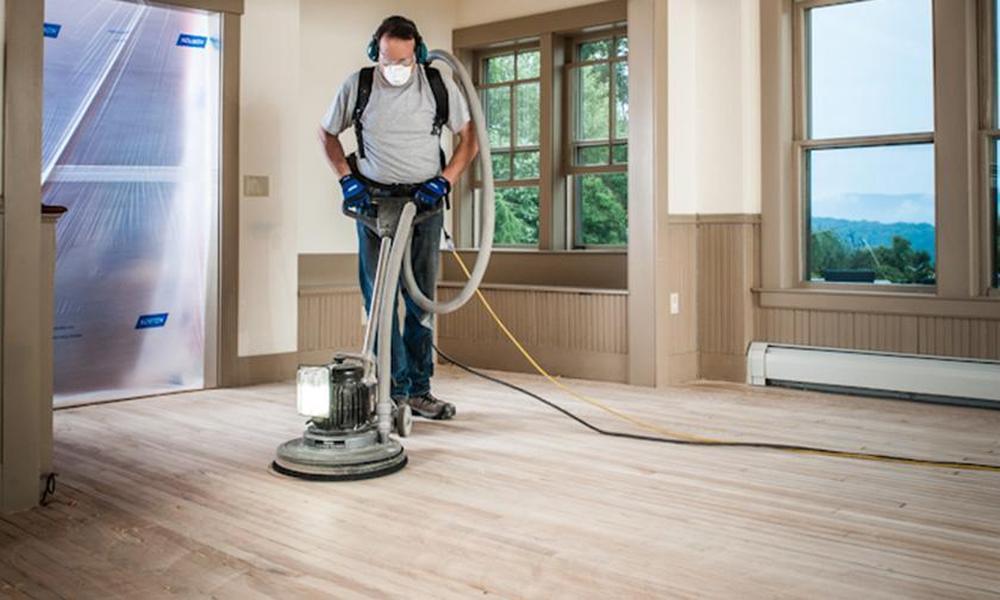
The sanding process involves using a machine with a sanding belt or disc to remove the top layer of wood from the floor. This process is done in stages, starting with coarse-grit sandpaper and progressing to finer grits. Each stage of sanding removes less wood than the previous stage, resulting in a smoother, more even surface.
After the sanding process is complete, any gaps or holes in the floor are filled with wood filler. Once the wood filler is dry, the floor is sanded again to ensure a smooth surface. Finally, the floor is sealed with a protective coating, such as polyurethane, to prevent damage from foot traffic, spills, and other sources.
Benefits of Floor Sanding
Floor sanding offers many benefits for homeowners, including:
- Improved Appearance: Floor sanding removes scratches, dents, and other imperfections from the surface of the wood, resulting in a smoother, more even surface that looks brand new.
- Increased Property Value: A well-maintained floor adds value to a home. Floor sanding can help to restore old, worn-out floors and make them look new again, increasing the overall value of a property.
- Healthier Living Environment: Old, worn-out floors can harbor dust, dirt, and other allergens that can be harmful to your health. Floor sanding removes these allergens, creating a cleaner, healthier living environment.
- Lower Maintenance Costs: Maintaining a floor that has been sanded is much easier than maintaining an old, worn-out floor. A sanded floor is less likely to develop cracks, dents, or other imperfections, reducing the need for costly repairs.
DIY Floor Sanding Tips
Floor sanding is a process that can be done by DIY enthusiasts with the right tools and techniques. Here are some tips for DIY floor sanding:
- Rent the Right Equipment: To sand your floors, you will need to rent a floor sander. Make sure to choose the right type of sander for your floor, as there are different types of sanders for different types of wood.
- Prepare the Room: Before you begin sanding, make sure to remove all furniture, rugs, and other items from the room. Cover any vents or doorways with plastic sheeting to prevent dust from spreading throughout the house.
- Start with Coarse Grit Sandpaper: Begin the sanding process with coarse-grit sandpaper, gradually progressing to finer grits. Be sure to follow the manufacturer’s instructions for changing the sandpaper.
- Sand with the Grain: Always sand with the grain of the wood to avoid damaging the surface of the floor.
- Wear Protective Gear: Sanding can create a lot of dust and debris, so it is important to wear a dust mask, eye protection, and earplugs to protect yourself from harm.